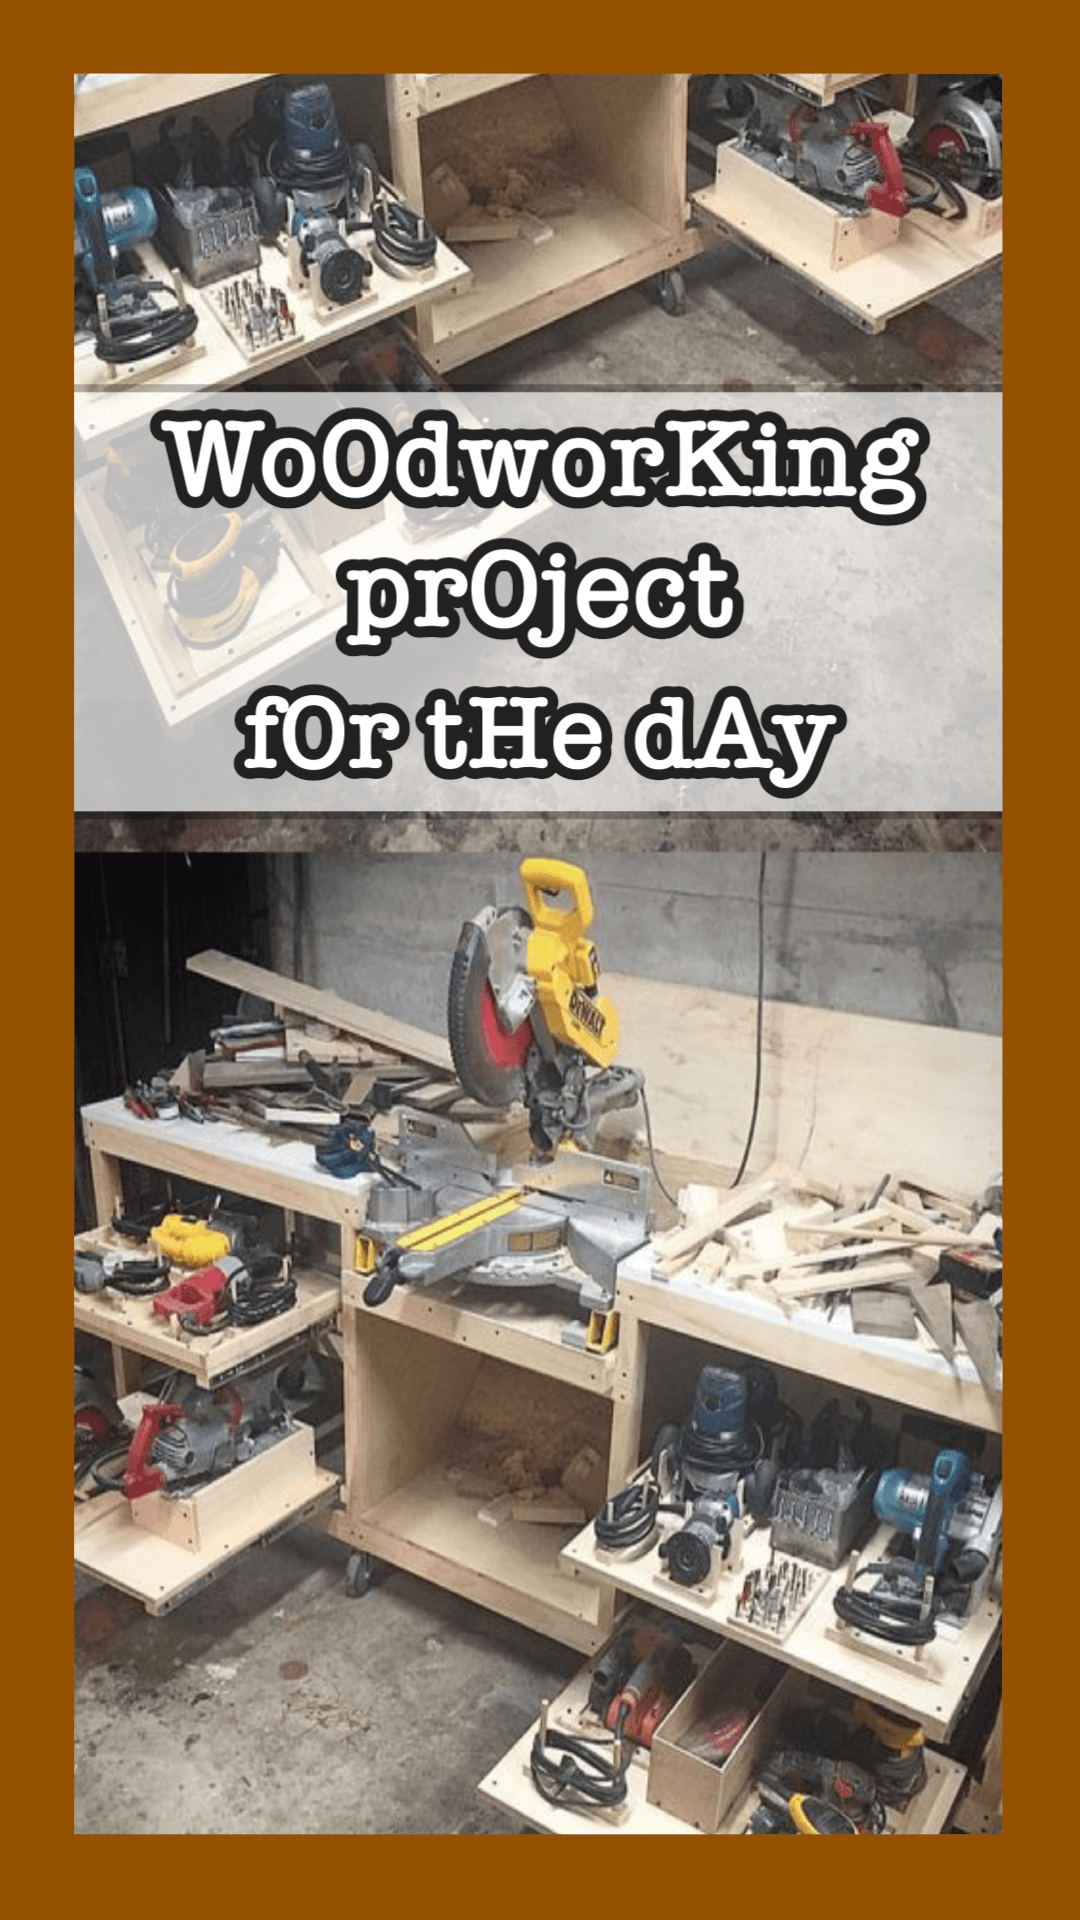
DIY Woodworking Workbench: How to Build Your Perfect Workstation
Creating your own woodworking workbench is a rewarding project that allows you to customize it to your specific needs. Whether you’re a beginner or an experienced woodworker, building your own workbench can improve your workflow and productivity. In this guide, we’ll explore how to build a durable and functional DIY woodworking workbench, what type of wood to use, and the essential tools you’ll need.

Project Blueprint Details
Stop guessing measurements. Get the exact cut lists and 3D diagrams to finish this project without mistakes.
ACCESS COMPLETE PROJECT VAULT >>
Why Build Your Own Workbench?
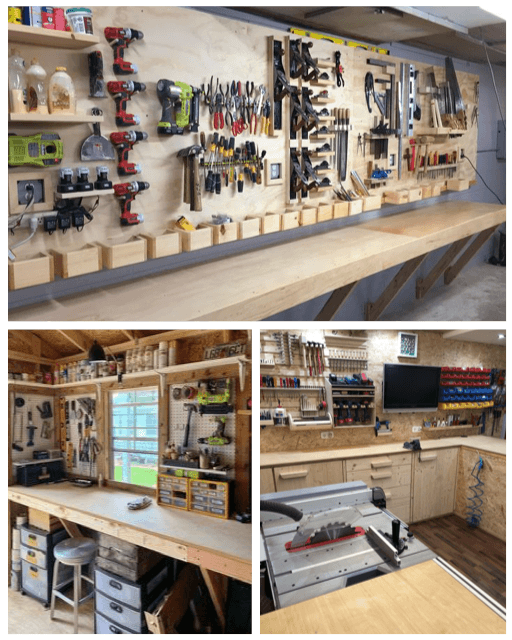
A good workbench is the foundation of any woodworking shop. Not only does it provide a sturdy surface to work on, but it also ensures you can safely and efficiently complete your projects. While there are many pre-made workbenches available, creating one yourself allows for customization. You can build it to fit your available space, height preferences, and specific tool requirements.
Materials and Tools Needed
Choosing the right materials and tools is critical for constructing a high-quality workbench. Below, we’ll discuss what kind of wood works best for different parts of the workbench and the tools required to make the process smooth and efficient.
Materials:
- Type of Wood:
- Top Surface (Hardwood): The workbench top should be made of a strong, durable hardwood like Maple or Beech. These woods are tough enough to withstand the wear and tear of constant use. They also provide a smooth, flat surface, which is important for woodworking precision.
- Legs (Softwood or Hardwood): For the legs, you can use either Douglas Fir, Southern Yellow Pine, or hardwoods like Oak. Softwoods like Pine are cost-effective and easier to work with, but hardwoods offer better stability and longevity.
- Shelf or Storage (Plywood or MDF): For the lower shelves or storage compartments, Plywood or MDF (Medium Density Fiberboard) works well. It’s sturdy and affordable, making it perfect for storing heavy tools or equipment.
Tools:
- Essential DIY Tools:
- Circular Saw: For cutting the wood to the right sizes.
- Drill: To drill holes for screws and bolts.
- Clamps: To hold wood pieces in place while assembling.
- Wood Glue: Provides extra strength when attaching joints.
- Screws and Bolts: For securing different components of the workbench.
- Measuring Tape: To measure dimensions accurately.
- Hammer and Mallet: For pounding nails and assembling parts.
- Sander or Sandpaper: For smoothing the surface and edges.
- Level: Ensures your workbench is even and balanced.
- Jigsaw: To make more detailed cuts for shaping.
- Chisel Set: For fine detailing or cleaning up edges.

Step-by-Step Guide: How to Build a DIY Woodworking Workbench
Now that you have all the materials and tools, it’s time to build! Follow these 20 steps to create your perfect woodworking workbench.
How to Build a DIY Woodworking Workbench (Step-by-Step Instructions)
- Measure Your Space: Determine the size of your workbench based on your available workshop space. Mark the height, width, and length.
- Choose Your Wood: Select hardwood like Maple or Beech for the workbench top and softwood for the legs if you prefer an easier build.
- Cut the Lumber: Use a circular saw to cut the top, legs, and support beams to your desired dimensions.
- Assemble the Frame: Lay out the cut lumber pieces for the frame. Attach the legs to the side beams using wood glue and screws.
- Clamp Everything: Use clamps to hold the frame in place as the glue dries for a firm connection.
- Add Cross Supports: Install cross braces between the legs for additional stability.
- Secure the Frame: Double-check that everything is level and square, then use screws to secure the frame permanently.
- Cut the Workbench Top: Cut the hardwood work surface according to your planned size. Ensure it overhangs the frame slightly.
- Attach the Work Surface: Place the workbench top on the frame, using wood glue and screws to secure it in place.
- Drill Holes for Tools: If you want to add clamps or tool holders, drill holes into the bench top in appropriate positions.
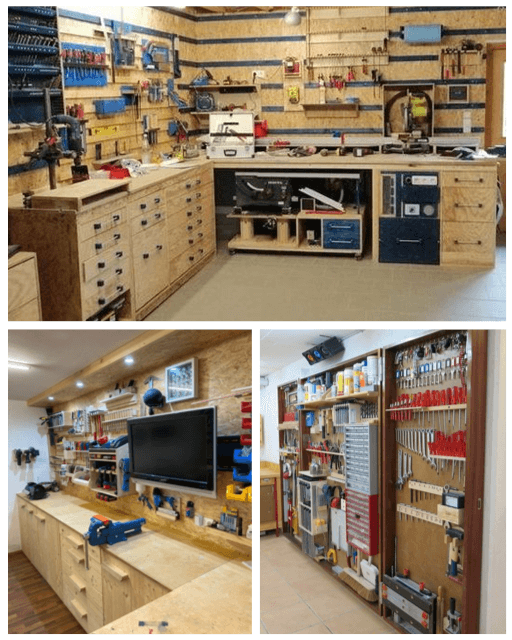
- Install a Lower Shelf: Use plywood or MDF to create a lower shelf between the legs for storing tools.
- Sand the Edges: Use a sander or sandpaper to smooth the edges and surface of your workbench.
- Apply a Protective Finish: Apply wood oil, varnish, or polyurethane to the workbench to protect it from wear and moisture.
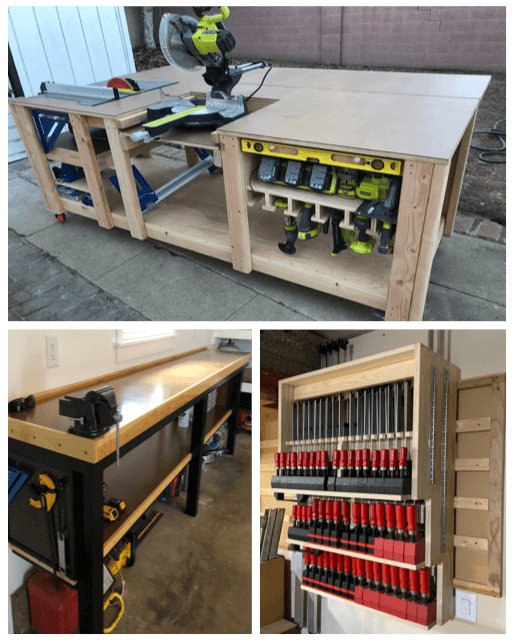
- Install a Vise: If desired, add a vise to one side of the workbench for added functionality.
- Attach Casters (Optional): For a mobile workbench, attach lockable casters to the bottom of the legs.
- Test Stability: Check that your workbench is stable and level. If not, adjust the leg height or add support braces.
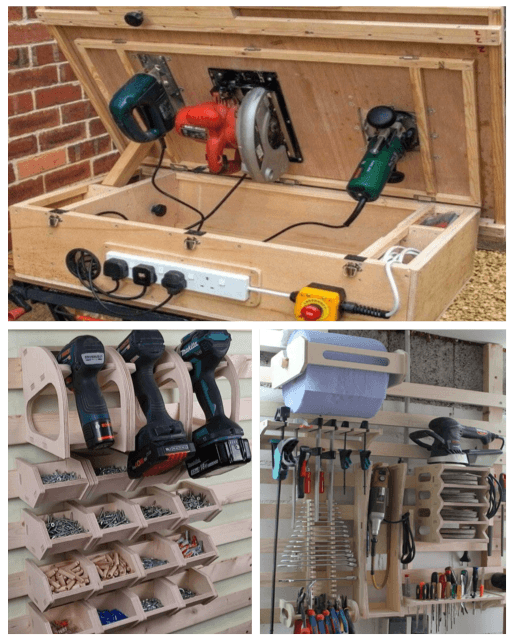
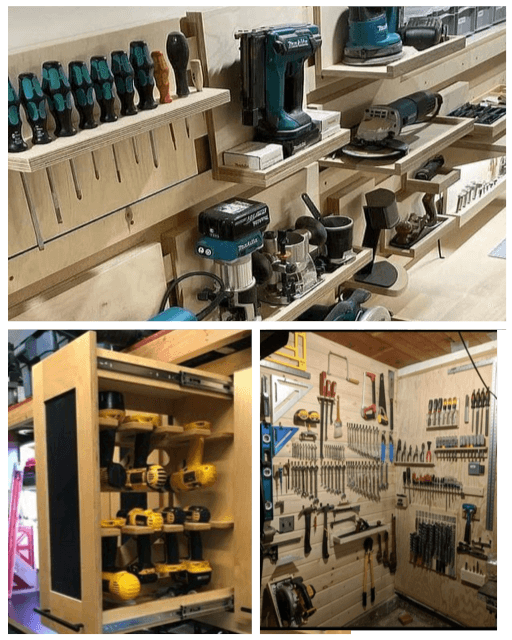
- Organize Your Tools: Use hooks or magnetic strips to organize your tools around the workbench for easy access.
- Personalize the Bench: Add any additional features you need, such as tool storage drawers or power strip mounts.
- Double-Check All Connections: Ensure all screws and bolts are tightened, and everything is securely fastened.
- Start Working: Your DIY woodworking workbench is ready! Now, you can start using it for your projects.
Final Thoughts
Building your own DIY woodworking workbench is not only a practical addition to your workshop but also an enjoyable project that improves your skills. With the right materials and tools, you can create a durable, custom-built workbench that will last for years to come. Whether you are a hobbyist or professional, having a reliable and sturdy workbench is essential for all woodworking tasks. Start building today, and enjoy the satisfaction of crafting something that will support all your future projects!
Project Blueprint Details
Stop guessing measurements. Get the exact cut lists and 3D diagrams to finish this project without mistakes.
ACCESS COMPLETE PROJECT VAULT >>

No Comments
Be the first to start a conversation