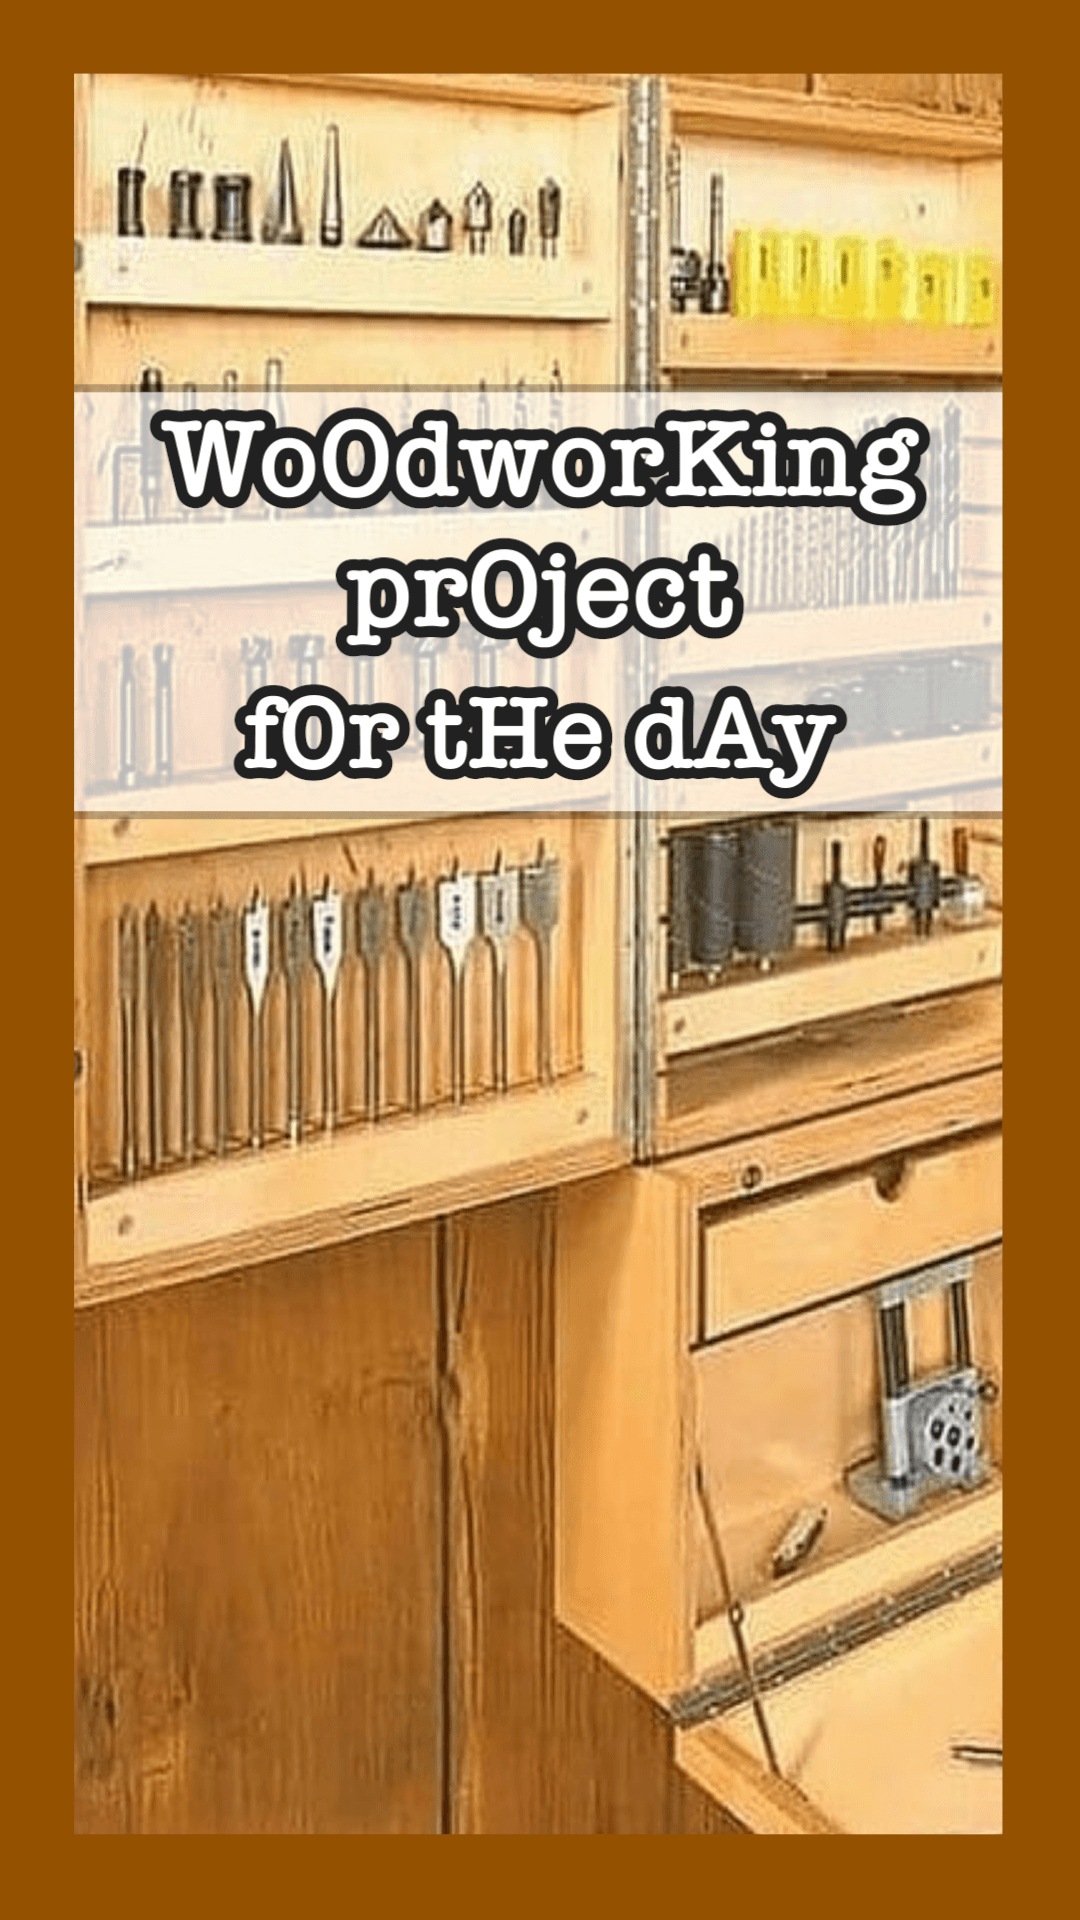
DIY Woodworking Tool Wall Project: Organize Your Workspace with Style


Woodworking can be a rewarding hobby, but it often comes with one big problem: tool clutter. Without proper organization, tools can easily pile up and create chaos in your workspace. A DIY woodworking tool wall is the perfect solution to keep your tools organized, within reach, and displayed beautifully. Whether you’re a beginner or an experienced woodworker, building your own tool wall can transform your workspace into a functional and efficient area.
In this guide, we’ll walk you through how to create a custom tool wall using the right materials and tools. We’ll also provide step-by-step instructions and helpful tips to ensure your project is a success. Let’s get started!
Why You Should Build a DIY Tool Wall
Building your own woodworking tool wall has many benefits:
- Customization: You can design the layout to suit your specific needs and tools.
- Organization: It helps keep your workspace tidy, with every tool in its place.
- Efficiency: With tools visible and within reach, you’ll spend less time searching and more time building.
- Aesthetic Appeal: A well-organized tool wall can add a professional and stylish look to your workshop.
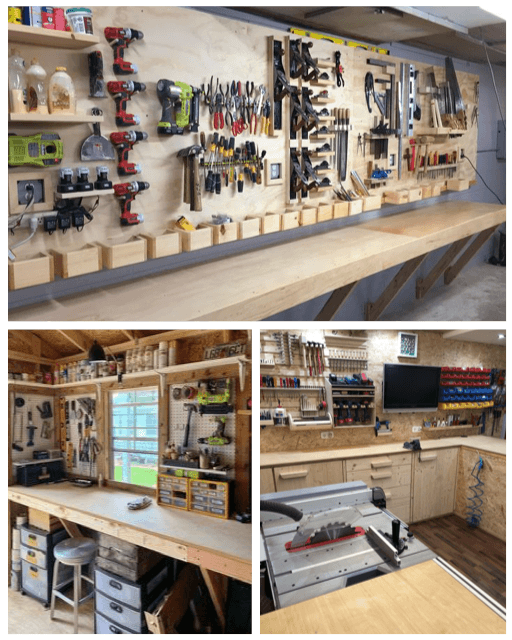
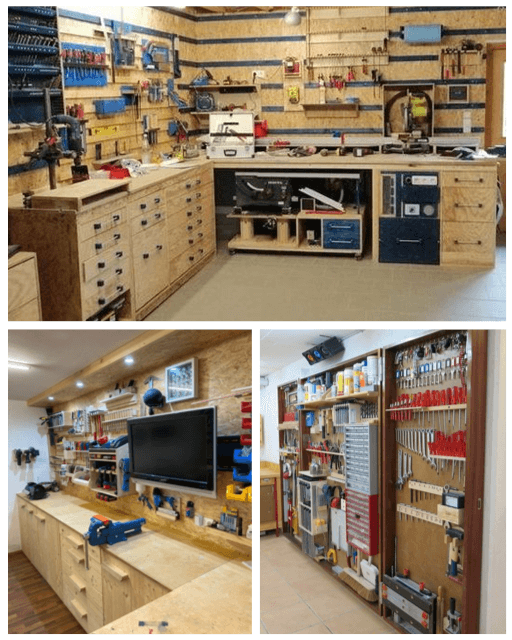
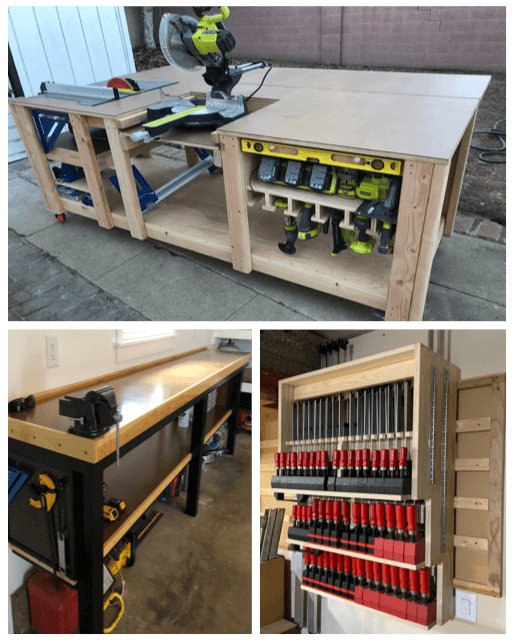
- Maximizes Space: Tool walls save space by utilizing vertical storage instead of bulky toolboxes or cabinets.
Creating your own tool wall is not only a practical project but also a chance to showcase your woodworking skills. Below, we’ll cover how to build a sturdy, functional, and attractive tool wall.
What You Need to Build a Woodworking Tool Wall
Before we dive into the step-by-step process, let’s discuss the materials and tools you’ll need. Choosing the right kind of wood and using the correct DIY tools is essential for creating a durable tool wall that will last for years.
Recommended Wood for Tool Walls
- Plywood: This is a popular choice due to its affordability and strength. A 3/4-inch plywood panel is perfect for creating a strong base to hold various tools.
- Pine: For a softer, more affordable wood, pine is a good option. It’s easy to work with and can be stained or painted to match your workspace aesthetic.
- Oak or Maple: These hardwoods are more durable and give a polished look. While they’re more expensive than plywood or pine, they provide a long-lasting, professional finish.
Essential DIY Tools
- Measuring tape
- Level
- Power drill
- Saw (circular saw or table saw)
- Screwdriver
- Stud finder
- Screws
- Wood glue
- Wood stain or paint (optional)

20-Step Guide to Build Your DIY Tool Wall
- Measure your wall space.
- Start by measuring the available space in your workshop where you plan to install the tool wall.
- Decide on the layout.
- Sketch out a layout for where each tool will hang. Consider grouping tools by type (hammers, saws, screwdrivers) for easy access.
- Choose the wood.
- Select your wood, such as 3/4-inch plywood or pine. Make sure you have enough material to cover the space.
- Cut the wood panels.
- Use a circular saw or table saw to cut the plywood into panels that fit your measured wall space.
- Prepare the wall surface.
- If necessary, clean and prep the wall where the tool panels will be mounted. Find the wall studs using a stud finder.
- Attach cleats (optional).
- To make rearranging easier, attach horizontal cleats to the wall. This will allow you to mount and adjust panels without drilling into the wall repeatedly.
- Drill holes for screws.
- Pre-drill holes into the edges of your plywood panels where they will be attached to the cleats or directly to the wall.
- Screw panels to the wall.
- Secure the panels onto the wall using screws. Ensure that the panels are level by checking with a level tool.
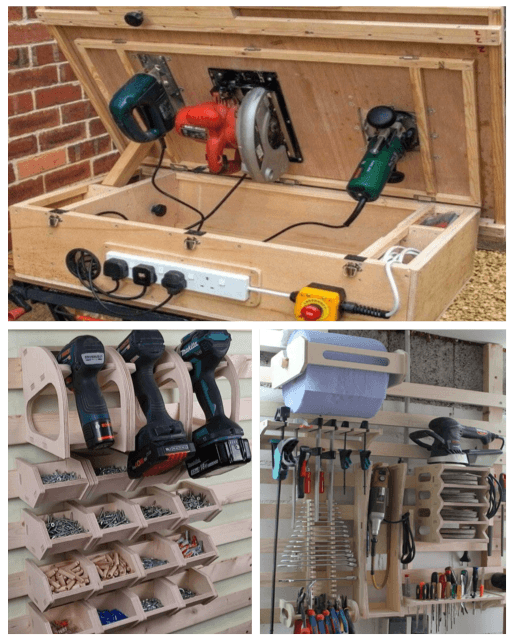
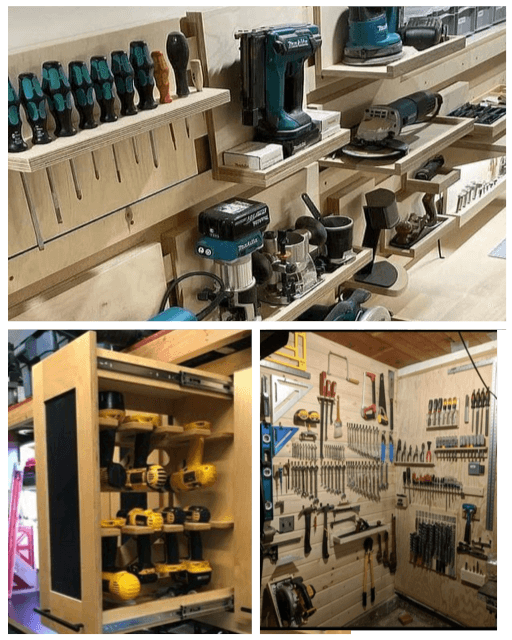
- Create tool holders.
- Depending on the tools you own, create custom holders such as shelves, pegs, or slots for each tool.
- Install hooks and pegs.
- Use metal or wooden hooks for hanging hammers, screwdrivers, and wrenches. Pegboard hooks are ideal for smaller items.
- Add shelves.
- If you have larger tools or toolboxes, add shelves made from plywood or pine. Secure them to the panel with brackets or wood glue and screws.
- Build a magnetic strip.
- For metal tools like screwdrivers or chisels, attach a magnetic strip to the tool wall for easy access.
- Sand the wood.
- Use sandpaper to smooth the edges of the plywood and any cut shelves or holders.
- Stain or paint (optional).
- If you want to enhance the look of your tool wall, apply wood stain or paint to the panels. Choose a color that matches your workshop decor.
- Allow the finish to dry.
- If you’ve stained or painted the wood, allow it to dry completely before mounting tools.
- Install additional supports.
- For heavy tools like saws or power drills, add extra supports or brackets to ensure the tool wall can handle the weight.
- Label your tool spots (optional).
- For extra organization, consider labeling where each tool goes using stickers or a label maker.
- Mount tools on the wall.
- Once everything is secure, start hanging your tools in the designated spots.
- Test the tool wall.
- Ensure that all the tools are secure and that the wall can support the weight. Make any necessary adjustments to the layout.
- Enjoy your organized workshop!
- With your new tool wall, enjoy a clutter-free workspace and the ease of having all your tools within reach.
Building a DIY woodworking tool wall is a fantastic project that can significantly improve your workshop’s organization and functionality. By following the steps outlined here, you can create a custom tool wall that suits your specific needs while showcasing your craftsmanship.
A tool wall is more than just storage—it’s a statement of your dedication to woodworking and a reflection of your skills.