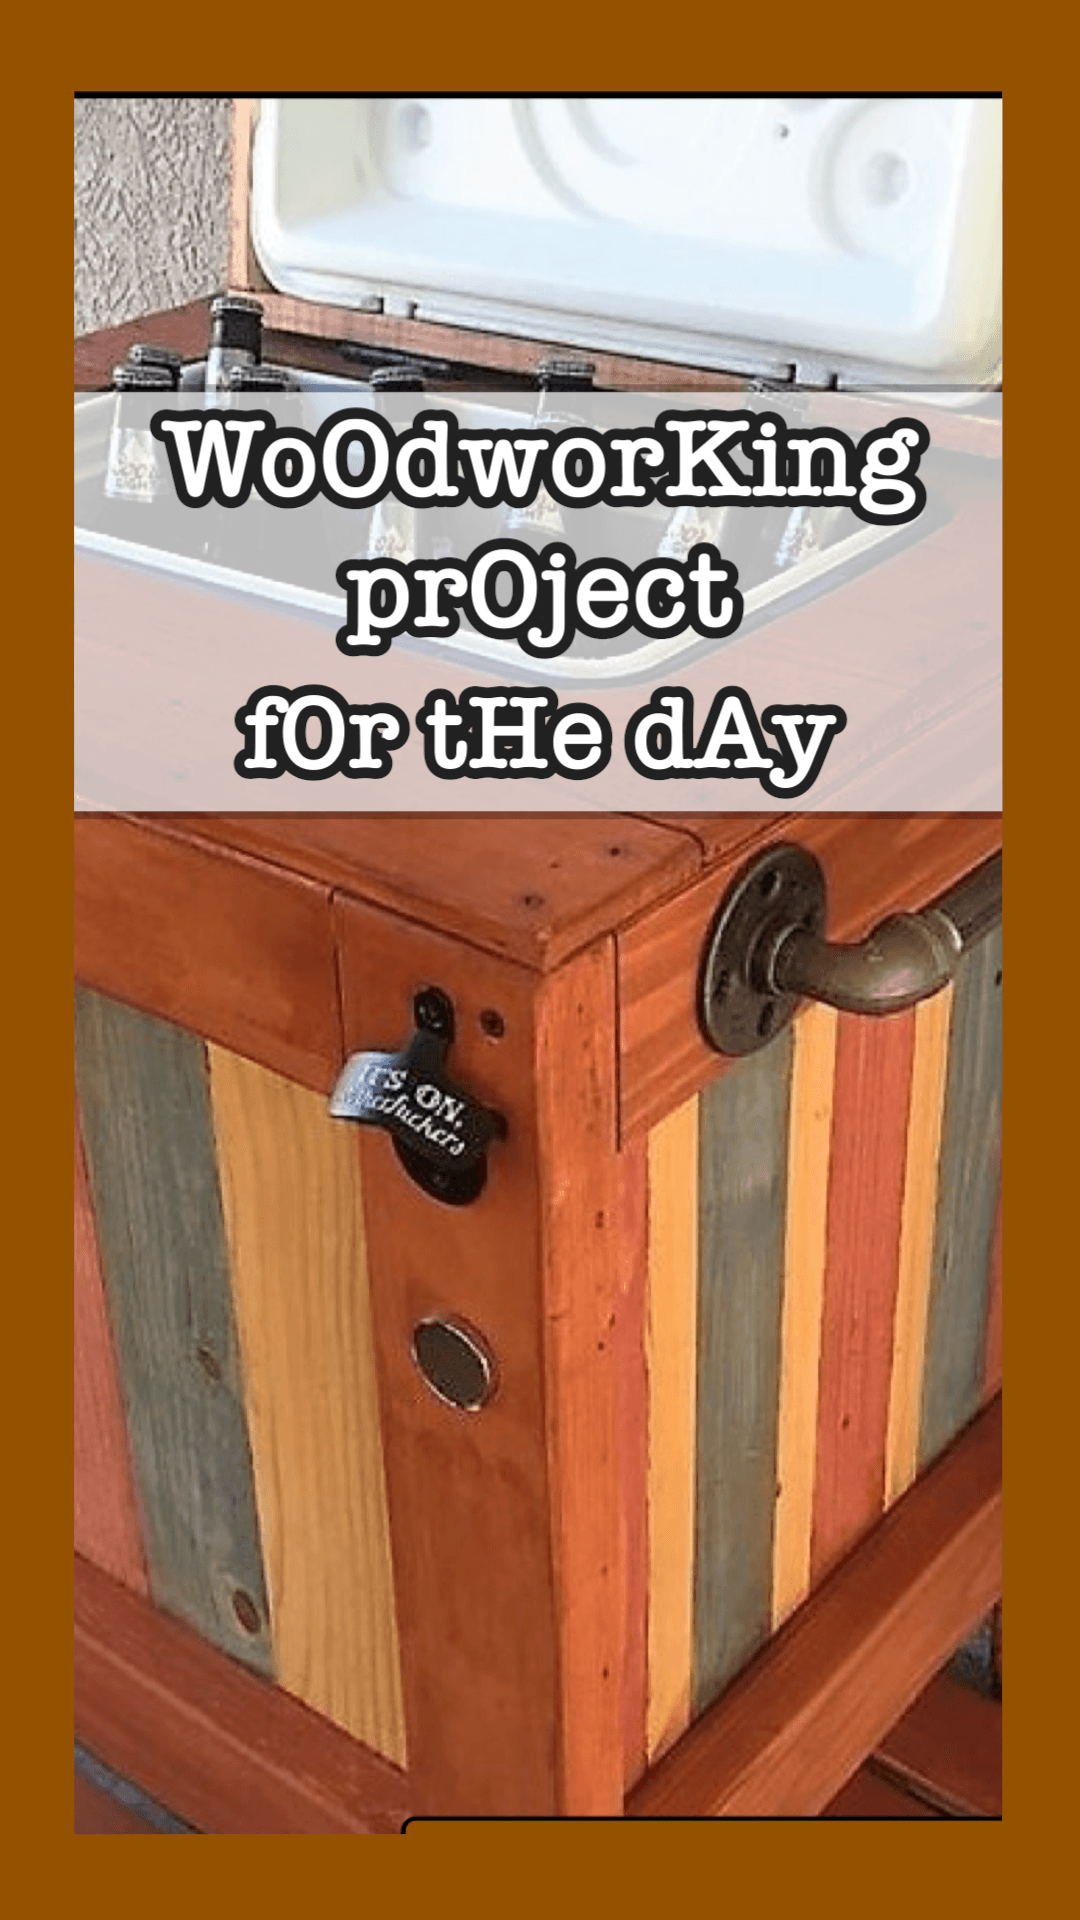
DIY Woodworking Cooler for Fresh Drinks: Build Your Own Custom Outdoor Cooler
If you’re someone who enjoys spending time outdoors, whether it’s hosting a barbecue or just relaxing with friends and family, a DIY woodworking cooler can be the perfect addition to your patio or backyard. Not only does it add a rustic and functional charm to your outdoor space, but it’s also a great way to keep your drinks cold and refreshing during those warm summer days. This project can be both fun and rewarding, allowing you to combine practical design with your woodworking skills.


In this article, we’ll take you through the step-by-step process of building your own wooden cooler, providing you with the list of materials, types of wood, and tools you’ll need to make this project successful.
Why Build a DIY Woodworking Cooler?
Building a wooden cooler allows you to create a custom piece that perfectly matches your outdoor aesthetic. Unlike the plastic coolers you can buy from the store, a wooden cooler can be customized in terms of size, design, and finish. Plus, it’s durable and sturdy, meaning it can withstand outdoor weather conditions. A wooden cooler is also a fantastic conversation piece and adds a personal touch to any outdoor event.
Choosing the Right Wood for Your Cooler
One of the key elements to building a long-lasting cooler is choosing the right type of wood. Since this cooler will likely be exposed to various weather conditions, it’s important to choose wood that is resistant to moisture, rot, and decay.
Here are some of the best options:
- Cedar: A popular choice for outdoor furniture because it’s naturally resistant to insects and rot.
- Redwood: Another excellent choice for outdoor projects due to its natural durability.
- Teak: Known for its ability to resist moisture and decay, though it can be more expensive.
- Pressure-treated pine: More affordable and durable when treated to withstand the elements.
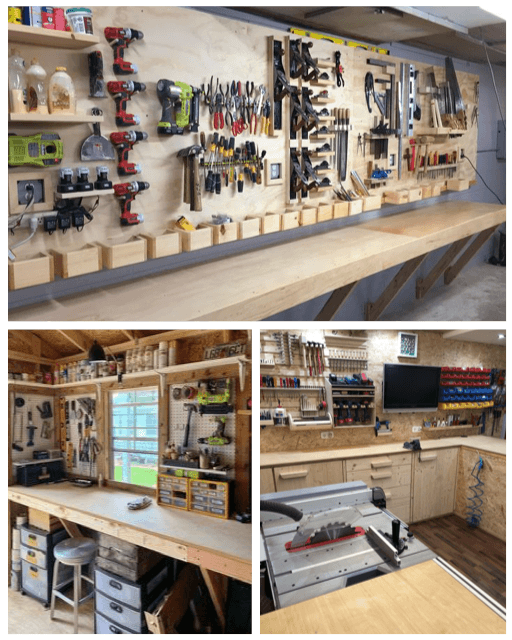
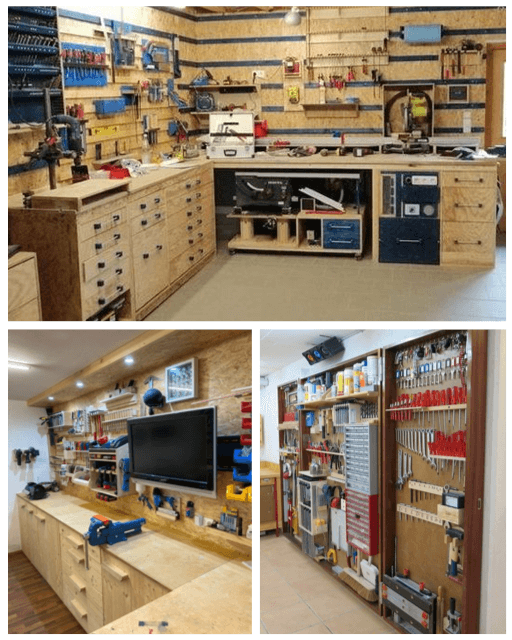
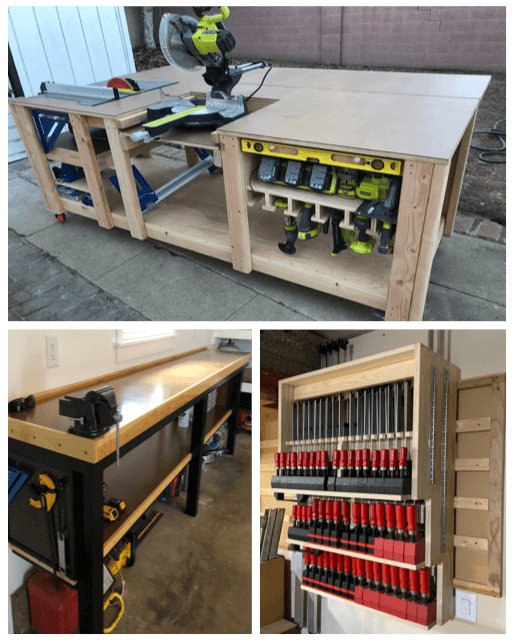
Tools and Materials You’ll Need
Before diving into the step-by-step guide, here’s a list of tools and materials you’ll need to get started:
- Wood (Cedar, Redwood, Teak, or Pressure-treated Pine)
- Cooler insert (A standard plastic cooler that will sit inside the wooden frame)
- Wood screws (Galvanized to prevent rusting)
- Hinges for the lid
- Handles for carrying (Optional, but useful)
- Wood glue
- Sandpaper (For smoothing the wood edges)
- Measuring tape
- Table saw or circular saw
- Drill
- Clamps (For holding pieces in place while assembling)
- Outdoor varnish or sealant (To protect the wood from the elements)
- Bottle opener (Optional but a fun addition)

Step-by-Step Guide: How to Build Your DIY Woodworking Cooler
- Prepare the Cooler Insert: Start by measuring the dimensions of your plastic cooler insert. This will help you determine the size of the wooden frame you need to build. Leave some space around the cooler to allow for insulation or a snug fit if you want to add padding.
- Cut the Wood: Using your table saw or circular saw, cut the wood to the desired lengths for the frame of the cooler. You’ll need pieces for the front, back, sides, and base.
- Assemble the Base: Begin by constructing the base. Attach the side panels to the base using wood screws and wood glue for extra strength. Ensure everything is level and square by using clamps and a measuring tape.
- Build the Side Panels: Attach the front and back panels to the base and side panels using screws. Ensure all joints are tight and secure.
- Insert the Cooler: Place the cooler inside the wooden frame to make sure it fits snugly. If you want to add insulation, you can line the inside of the wooden frame with foam before inserting the cooler.
- Create the Lid: Using your remaining wood, construct the lid that will sit on top of the cooler. You can use hinges to attach the lid to the back panel of the cooler for easy access.
- Add Handles: For portability, attach handles to the sides of the cooler frame. You can choose wooden handles or metal ones, depending on your preference.
- Sand the Edges: Use sandpaper to smooth any rough edges or sharp corners. This will ensure that the cooler is comfortable to handle and use.
- Seal the Wood: Apply an outdoor varnish or wood sealant to protect your cooler from moisture and sunlight. This will extend the life of your cooler, ensuring it remains durable and functional for years to come.
- Optional Extras: For added convenience, you can install a bottle opener on the front of the cooler or even a drainage system at the bottom to allow melted ice to drain easily.
Conclusion
A DIY woodworking cooler is an excellent project for anyone looking to add functionality and style to their outdoor space. With the right materials and tools, you can create a cooler that will not only keep your drinks chilled but also enhance the look of your patio or backyard. By choosing durable wood and protecting it with the appropriate finish, your cooler will last for many years, making it a worthwhile investment of your time and effort.
20-Step Bullet Points for Building Your DIY Wooden Cooler
- Measure the dimensions of the plastic cooler insert.
- Choose moisture-resistant wood like cedar, redwood, or pressure-treated pine.
- Cut wood pieces for the front, back, sides, and base of the cooler frame.
- Assemble the base by screwing the side panels to the bottom piece.
- Ensure the frame is square and level using clamps and a measuring tape.
- Secure the front and back panels to the base and side panels.
- Sand all wood pieces to remove any rough edges or splinters.
- Place the cooler insert inside the wooden frame to ensure a snug fit.
- Line the interior with foam insulation for better cooling performance (optional).
- Build a wooden lid to fit on top of the cooler frame.
- Attach the lid using hinges for easy opening and closing.
- Add sturdy handles to both sides of the cooler for easy transportation.
- Sand the completed cooler frame to ensure smooth surfaces.
- Apply outdoor varnish or wood sealant to protect the wood from weather damage.
- Install a bottle opener on the front panel for added convenience (optional).
- Drill a hole in the base and add a drainage system for easy water removal.
- Test the lid and handles to ensure functionality and durability.
- Add additional decorative features like engraving or painting, if desired.
- Place the cooler in your outdoor space and fill it with ice and drinks.
- Enjoy your homemade wooden cooler at your next outdoor gathering!
With these steps, you’ll have a fully functional and stylish cooler that will keep your drinks fresh for any occasion!