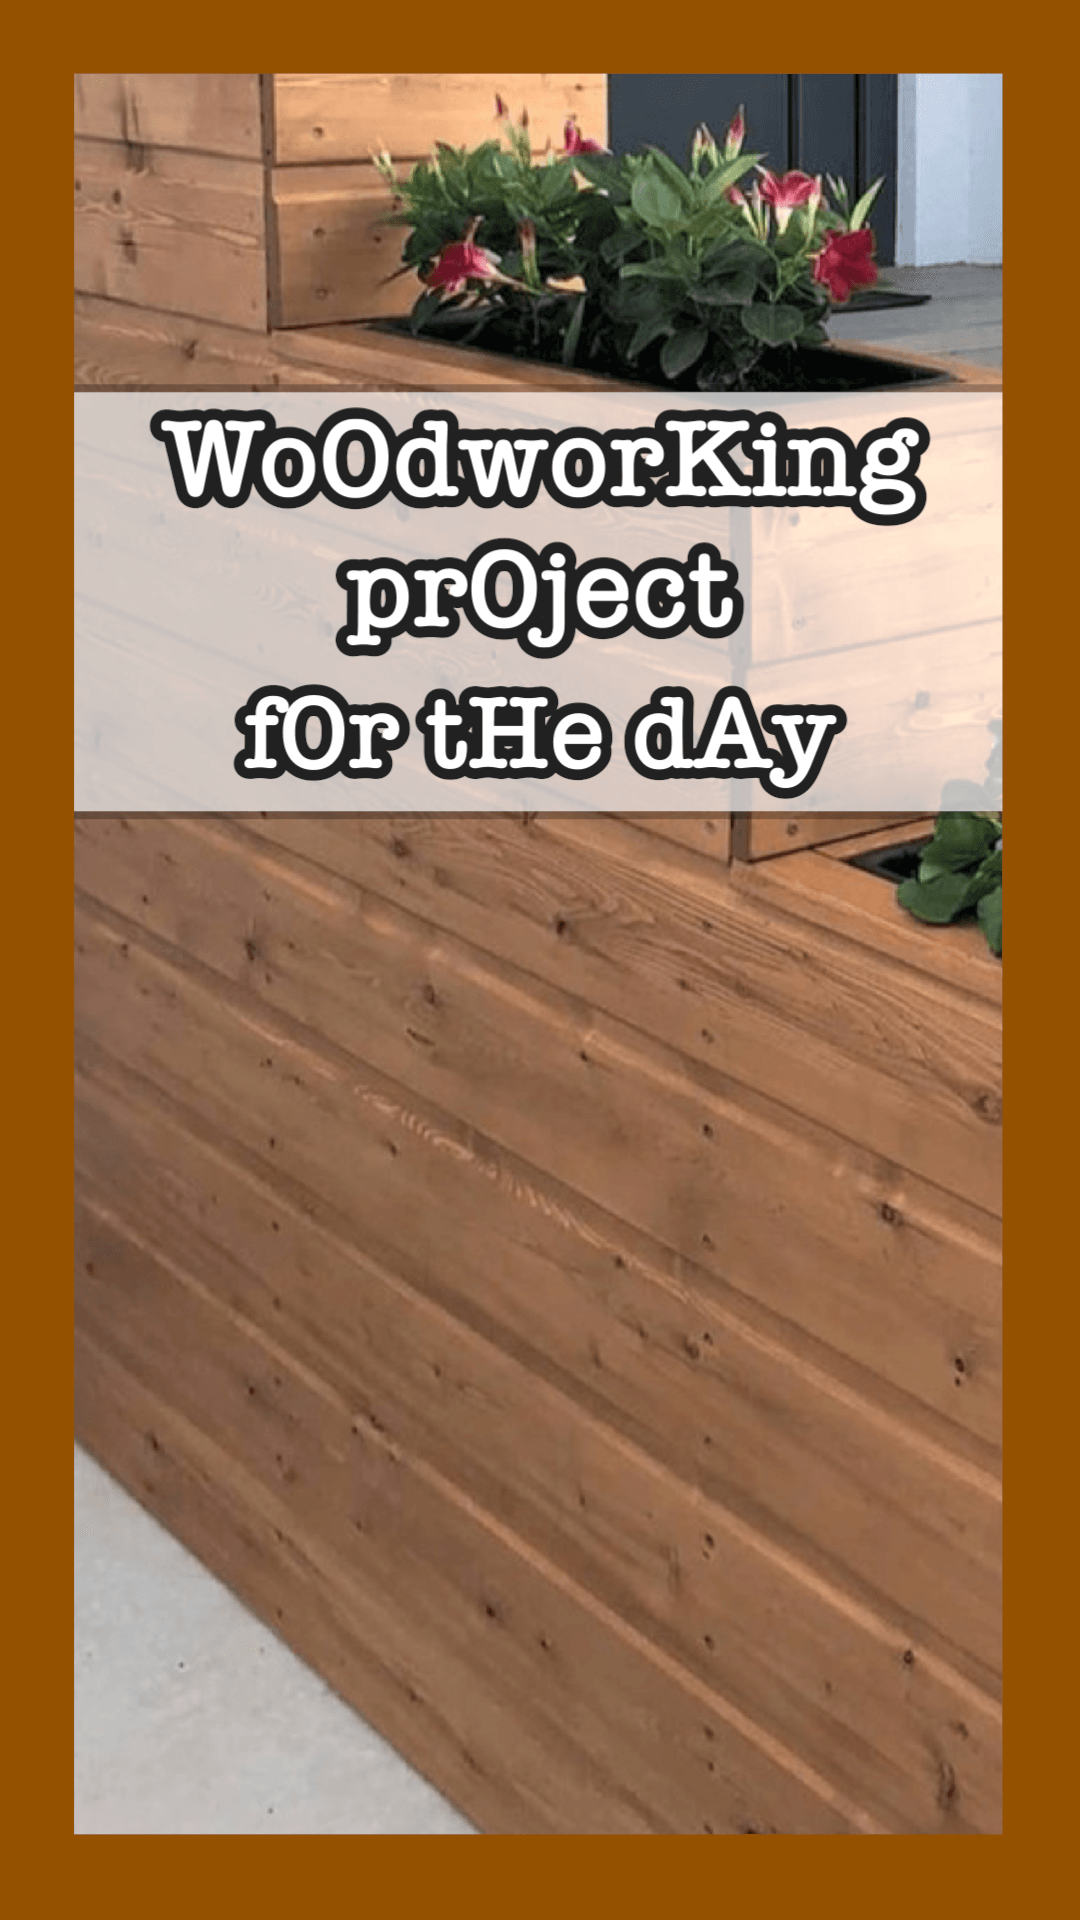
DIY Wooden Flower Box: A Beautiful Addition to Your Garden
A wooden flower box is a perfect way to add charm and elegance to any garden, patio, or balcony. Not only do flower boxes provide a practical space for growing plants, but they also create a rustic, natural look that complements any outdoor decor. Building your own DIY wooden flower box is an easy, rewarding project that even beginner woodworkers can tackle with confidence. In this article, we’ll guide you through everything you need to know to craft your own stunning wooden flower box.
Why Build a DIY Wooden Flower Box?
Creating your own flower box gives you complete control over the size, shape, and type of wood used, allowing you to personalize it to suit your style and needs. A DIY wooden flower box offers several advantages:
- Customization: You can make the box to fit specific spaces or to match your home’s aesthetic.
- Cost-Effective: Building a flower box is much more affordable than buying a pre-made one.
- Durability: When properly built and maintained, a wooden flower box can last for years.
- Sustainability: Choosing high-quality, sustainable wood helps reduce environmental impact.
What Kind of Wood Should You Use?
The type of wood you use for your flower box is critical to its longevity. Ideally, the wood should be durable, weather-resistant, and naturally rot-resistant. Here are some excellent wood options for outdoor flower boxes:
- Cedar: Cedar is highly durable and resistant to rot and insects, making it an excellent choice for outdoor use.
- Redwood: Similar to cedar, redwood is naturally resistant to decay and maintains its strength in various weather conditions.
- Teak: Though more expensive, teak is extremely resistant to water and pests, making it a long-lasting option.
- Pine: Pine is a cheaper option, but it requires treatment with wood preservative to ensure it withstands the elements.
- Oak: Oak is strong and durable but may need sealing to protect it from moisture and decay.

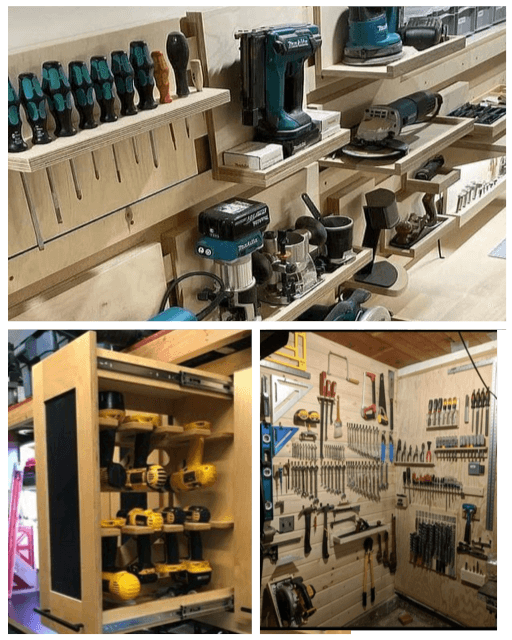
DIY Tools You’ll Need
Before getting started, gather the following tools:
- Saw (for cutting the wood)
- Tape Measure (for precise measurements)
- Screwdriver or Drill (for assembling the box)
- Screws or Nails (to secure the pieces together)
- Wood Glue (for extra strength)
- Sander or Sandpaper (for smoothing edges)
- Paint or Wood Sealer (to protect the wood)
- Clamps (to hold pieces in place while assembling)
- Safety Gear (gloves and goggles)
How to Build a DIY Wooden Flower Box
Now, let’s walk through the step-by-step process of building your very own DIY wooden flower box.
Step 1: Measure and Cut the Wood
Decide on the size of your flower box. A typical box might be 24 inches long, 12 inches wide, and 12 inches deep, but you can adjust the dimensions as needed. Measure and mark the wood using a tape measure and pencil. Then, cut the pieces to size using a saw. You’ll need four side pieces, a bottom piece, and, optionally, support pieces for the inside corners.
Step 2: Sand the Wood
Once all the pieces are cut, sand the edges and surfaces to smooth them out. This helps remove any splinters and ensures a cleaner finish. Use a medium to fine grit sandpaper for this step.
Step 3: Assemble the Box
Start by attaching the four side pieces together. Apply wood glue to the edges where the pieces will join, then secure them with screws or nails. Use clamps to hold everything in place while the glue dries. After assembling the sides, attach the bottom piece in the same way, gluing and screwing it to the sides.
Step 4: Add Drainage Holes
Drill several small holes in the bottom of the box to allow water to drain. This is crucial to prevent your plants from sitting in water, which can lead to root rot.
Step 5: Seal or Paint the Wood
To protect your flower box from the elements, you’ll need to either paint it or apply a waterproof wood sealer. Make sure to cover all surfaces, including the inside and edges, to prevent moisture from seeping into the wood.
Step 6: Add a Liner (Optional)
For additional protection, consider adding a plastic liner to the inside of your flower box. This helps extend the life of the wood by keeping soil and moisture away from direct contact with the wood.
Step 7: Fill and Plant
Once the box is dry and sealed, it’s ready to be filled with soil and your favorite flowers, herbs, or small shrubs. Be sure to choose plants that thrive in the type of sunlight available in the box’s location.
20 Bullet Points on How to Build a DIY Wooden Flower Box
- Decide the dimensions of your flower box.
- Choose durable, weather-resistant wood like cedar or redwood.
- Gather your tools: saw, drill, screwdriver, tape measure, screws, wood glue, and sander.
- Cut four pieces of wood for the sides and one for the bottom.
- Sand all wood pieces to smooth the edges.
- Apply wood glue to the side edges for extra stability.
- Secure the sides together with screws or nails.
- Use clamps to hold the sides in place while the glue dries.
- Attach the bottom piece to the side walls with screws or nails.
- Drill drainage holes in the bottom for water to escape.
- Sand any rough areas for a clean finish.
- Apply wood sealer or paint to protect the wood from the elements.
- Ensure all surfaces, including the edges and inside, are sealed.
- Optional: Add corner support pieces inside the box for added strength.
- Allow the sealer or paint to dry fully.
- Optionally, line the inside of the box with plastic for added protection.
- Position your box in its intended outdoor location.
- Fill the box with high-quality potting soil.
- Plant your chosen flowers, herbs, or plants.
- Water your plants and enjoy your beautiful new wooden flower box!
Building a DIY wooden flower box is a fun and rewarding project that enhances your outdoor space. Not only is it customizable, but it also gives you the satisfaction of crafting something by hand. With the right wood and tools, your flower box will last for years and bring vibrant life to your garden