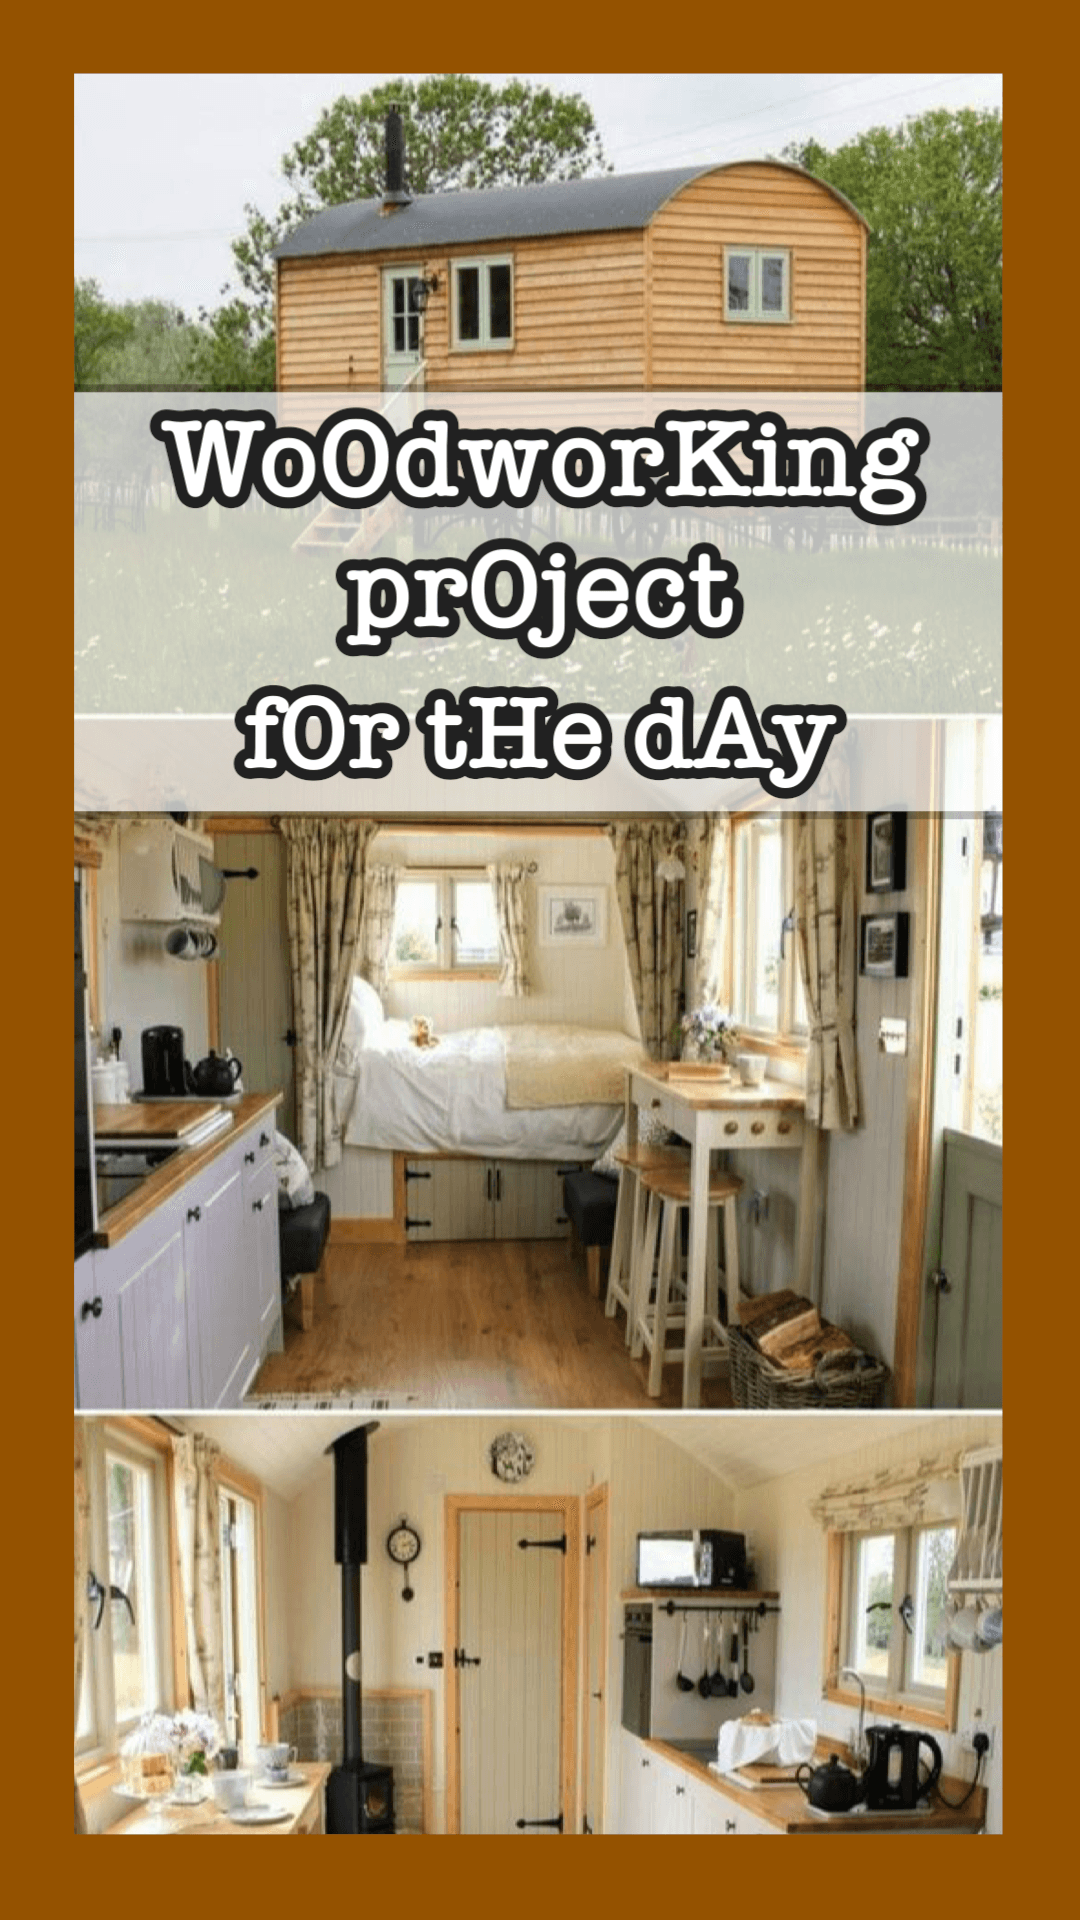
DIY Woodworking Tiny House: Build Your Own Dream Home on a Budget
With the growing trend of minimalist living, tiny houses have become increasingly popular as they offer a sustainable and cost-effective lifestyle. Building your own tiny house not only saves money but also gives you complete control over the design, allowing you to create a space that reflects your personality and needs. In this guide, we’ll walk you through the steps of building your very own DIY woodworking tiny house, including the tools and materials you’ll need, and how to select the best wood for the project.

Why Build a Tiny House?
Tiny houses are perfect for those looking to downsize, reduce their carbon footprint, or live off the grid. They offer a unique sense of freedom and flexibility. Building your own tiny house can also be incredibly rewarding as it combines carpentry, design, and creativity. Plus, you can customize the space to suit your exact needs, whether it’s a mobile tiny house on wheels or a stationary one in your backyard.
Types of Wood for Your DIY Tiny House
Choosing the right wood for your tiny house is essential for its durability, appearance, and structural integrity. Here are some common types of wood to consider:
- Cedar: Cedar is a lightweight, durable, and rot-resistant wood, making it ideal for exterior siding and decking. Its natural oils help protect against insects and decay.
- Pine: Pine is an affordable and versatile softwood. It is easy to work with and commonly used for framing, flooring, and walls. However, it may require treatment to protect against insects and weathering.
- Oak: Oak is a strong and dense hardwood. It’s ideal for structural beams and flooring due to its durability and resistance to wear and tear.
- Plywood: Plywood sheets are often used for walls, flooring, and roof panels. It’s strong, affordable, and available in various thicknesses to suit different parts of the build.
- Douglas Fir: Known for its strength and stability, Douglas fir is often used for framing and structural supports. It’s a cost-effective choice with excellent load-bearing properties.
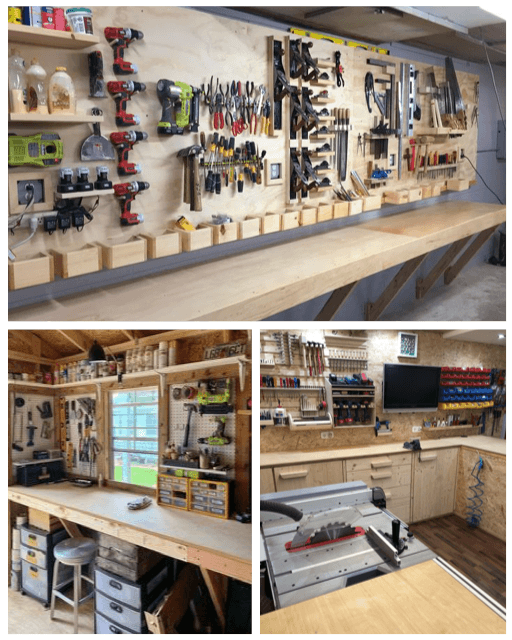
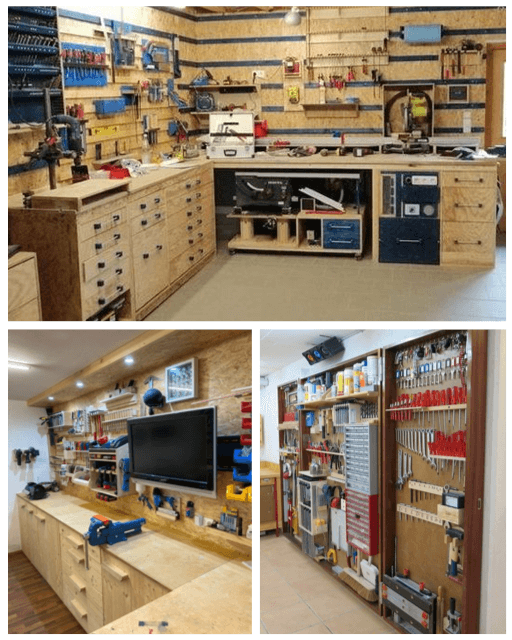
Essential Tools for Building a DIY Tiny House
Constructing a tiny house requires several woodworking and general DIY tools to make sure your build is accurate, strong, and safe. Here’s a list of the essential tools:
- Circular Saw: For cutting large wooden panels and boards to size.
- Table Saw: To make precise cuts, especially for framing and cabinetry.
- Power Drill: For drilling holes and driving screws.
- Miter Saw: Excellent for cutting angles in trim and framing.
- Jigsaw: Ideal for cutting curves and custom shapes in wood.
- Sander: For smoothing surfaces and finishing wood.
- Clamps: To hold wood in place while assembling or gluing.
- Tape Measure: For accurate measurements.
- Level: Ensures your walls and surfaces are straight and even.
- Hammer and Nails: Traditional tools for general assembly and framing.

Step-by-Step Guide to Building a DIY Woodworking Tiny House
1. Create a Design and Plan
Before picking up any tools, you’ll need a solid plan. Sketch your layout or use architectural software to design your tiny house. Decide on key factors like the number of rooms, whether it will be mobile or stationary, and if it will include features like a loft or outdoor deck. Make sure to include plumbing, insulation, and electrical plans in your design.
2. Prepare the Foundation
For a stationary tiny house, you’ll need a solid foundation. Most tiny houses are built on concrete slabs or footings. If you’re building a tiny house on wheels, you’ll start by acquiring a flatbed trailer. Ensure that the foundation or trailer is level and sturdy enough to support the weight of your home.
3. Frame the Walls and Roof
The framing forms the skeleton of your tiny house and must be sturdy. Use 2×4 or 2×6 boards for the walls and roof structure. Start by building the floor frame, followed by the walls, and then the roof. Make sure everything is square and level. Secure the wood with screws and brackets for extra support.
4. Install Windows and Doors
After framing the walls, cut out the spaces for windows and doors. Use a jigsaw or circular saw to make precise openings. Install the windows and doors securely with flashing tape and waterproof seals to prevent moisture from getting inside.
5. Sheath the Exterior
Attach plywood or OSB sheathing to the exterior of the framed walls and roof. This adds strength and helps create a flat surface for siding or cladding. Once the sheathing is in place, you can add house wrap for moisture protection.
6. Add Siding and Roofing
Choose durable and weather-resistant materials for siding, such as cedar planks or vinyl. For roofing, opt for shingles, metal roofing, or even green roofing systems depending on your climate and design. Secure everything with nails or screws, ensuring it’s watertight.
7. Insulate and Install Interior Walls
Good insulation is key to making your tiny house comfortable year-round. Use foam board, fiberglass, or spray foam insulation inside the walls, floors, and ceiling. After insulating, cover the interior walls with plywood, drywall, or tongue-and-groove paneling for a polished look.
8. Install Flooring
For flooring, use hardwood, bamboo, laminate, or plywood sheets, depending on your budget and style preferences. Secure the flooring material to the subfloor, ensuring it’s level and smooth.
9. Plumbing and Electrical Work
If you plan to include running water and electricity, it’s time to install the plumbing and electrical systems. This step often requires professional help unless you have the proper experience. Run wires for outlets and lighting and install pipes for sinks, showers, and toilets.
10. Finish the Interior
The final steps involve finishing the interior. Install kitchen cabinets, countertops, and bathroom fixtures. Add any built-in furniture, such as a bed or desk. Paint or stain the walls and install trim for a finished look. Add your personal touch with décor, shelving, and storage solutions.
20 Steps to Build a DIY Woodworking Tiny House
- Design your tiny house layout.
- Decide on a foundation or trailer base.
- Prepare the foundation or level the trailer.
- Gather materials (wood, plywood, insulation, etc.).
- Frame the floor of the tiny house.
- Frame the walls with 2x4s or 2x6s.
- Frame the roof with rafters.
- Cut out window and door openings.
- Install windows and doors with flashing.
- Sheath the exterior walls with plywood or OSB.
- Apply house wrap for moisture protection.
- Install siding (cedar, vinyl, or metal).
- Attach roofing materials (shingles, metal, or green roof).
- Insulate the walls, roof, and floor.
- Install interior wall panels (drywall, plywood, or paneling).
- Lay the flooring (hardwood, laminate, or bamboo).
- Run electrical wires and plumbing pipes.
- Install kitchen cabinets and fixtures.
- Paint or stain interior walls.
- Add personal finishing touches and décor.
Conclusion
Building a DIY woodworking tiny house is an exciting challenge that allows you to create a space tailored to your lifestyle. By selecting the right wood and following these steps, you’ll have a beautiful, sustainable, and affordable home. Whether you’re building for full-time living or as a guest house, your DIY tiny house will be a reflection of your craftsmanship and creativity.