DIY Woodworking Solid Workbench Project: How to Build Your Own Durable Workbench
A sturdy, reliable workbench is essential for any DIY enthusiast or woodworker. Whether you’re just getting started in woodworking or have years of experience, building a solid workbench is a rewarding project that enhances your workspace. In this DIY guide, we’ll walk you through the steps to create a durable wooden workbench. We’ll also cover the materials, tools, and types of wood best suited for the project.

Project Blueprint Details
Stop guessing measurements. Get the exact cut lists and 3D diagrams to finish this project without mistakes.
ACCESS COMPLETE PROJECT VAULT >>
Why Build Your Own Workbench?
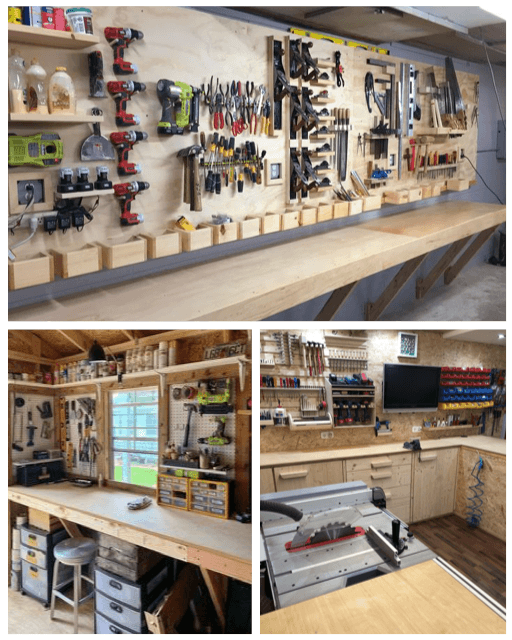
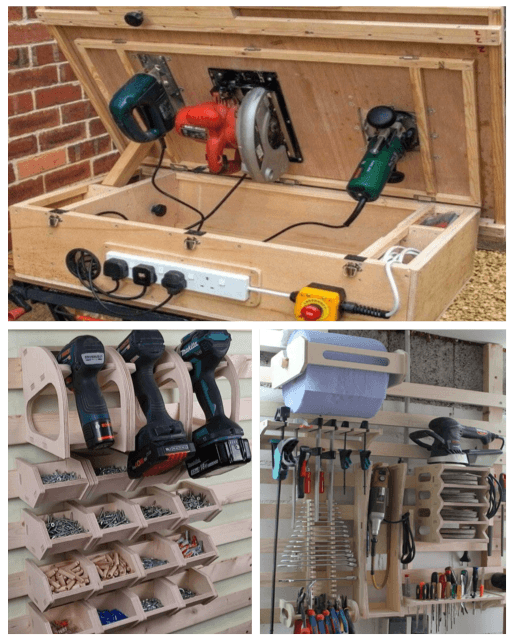
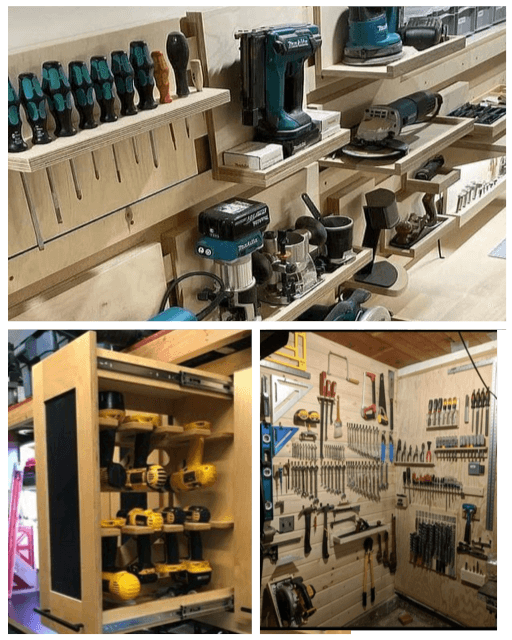
Having a workbench that suits your specific needs and preferences can make a huge difference in your woodworking projects. By building your own, you can customize the size, features, and storage to fit your workspace and personal requirements. Plus, it’s a great way to hone your woodworking skills while creating something practical and lasting.
Materials and Tools You’ll Need
To build a solid workbench, you need the right materials and tools. Choosing the right wood is essential, as it impacts the durability and functionality of your bench. Let’s dive into what you’ll need to get started.
Types of Wood for a Solid Workbench
- Hardwood: Hardwoods like oak, maple, and beech are popular choices for workbench tops because they are dense and durable. Maple is especially common, offering excellent durability and smoothness.
- Pine: Pine is a budget-friendly alternative to hardwood. While not as strong, it is easier to work with and widely available.
- Plywood: For a smooth, even surface, many woodworkers use plywood for the top of their workbench. It’s cost-effective and can be easily replaced if damaged.
- MDF (Medium Density Fiberboard): MDF is another affordable option, especially for the top. It’s smooth and easy to work with but may not be as durable as solid wood.
Tools You’ll Need
Here’s a list of DIY woodworking tools that will help you construct your workbench:
- Circular saw or table saw
- Drill and drill bits
- Wood clamps
- Tape measure
- Carpenter’s square
- Power sander or sanding blocks
- Wood screws or lag bolts
- Wood glue
- Hand saw (optional)
- Level
- Chisel and hammer (optional for advanced joints)
Step-by-Step Guide to Building a Solid Workbench
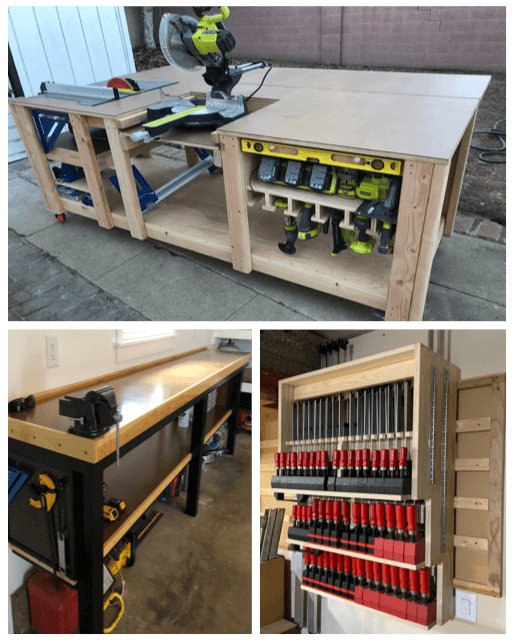
- Plan Your Workbench Design: Start by determining the dimensions of your workbench based on your workspace and needs. A typical height is around 34–36 inches, but this can be adjusted based on your comfort.
- Cut the Wood for the Frame: Use your saw to cut the legs and frame pieces for the base of the bench. Hardwood like oak or maple works well for the legs as they need to be strong enough to support the weight of the workbench and your projects.
- Assemble the Frame: Assemble the base frame of the workbench using wood screws or lag bolts. You can use a combination of wood glue and screws for added stability. Ensure the frame is square using a carpenter’s square and level.
- Cut and Attach the Workbench Top: Cut your workbench top from plywood, MDF, or solid hardwood. Attach the top to the frame using wood screws, ensuring it’s level and secure. You can double-layer the top for extra durability.
- Add Cross Bracing: For additional strength, especially if you’ll be working on heavy projects, add cross braces between the legs of the workbench. This prevents wobbling and adds stability.
- Sanding the Surface: Sand the entire surface of the workbench, including the top, to ensure a smooth working area. Start with a coarse grit sandpaper and finish with fine grit.
- Optional: Add a Shelf or Storage: You can add a lower shelf to your workbench for tool storage. Use plywood or solid wood for the shelf, attaching it to the cross braces at the bottom of the legs.
- Finish the Bench: Apply a protective finish to the workbench, such as wood stain or polyurethane, to protect it from spills and damage.

How to Build a Solid Workbench: Step-by-Step Guide
- Step 1: Measure and plan your design.
- Step 2: Cut wood for legs and frame.
- Step 3: Assemble the base frame.
- Step 4: Cut the workbench top from plywood or hardwood.
- Step 5: Attach the top to the frame securely.
- Step 6: Add cross braces for stability.
- Step 7: Sand the surface for smoothness.
- Step 8: Optional: Add a shelf for storage.
- Step 9: Finish the bench with wood stain or sealer.
Tools You’ll Need
- Circular saw or table saw
- Drill and drill bits
- Wood clamps
- Tape measure
- Carpenter’s square
- Wood screws or lag bolts
- Wood glue
- Sanding tools
- Level
Types of Wood to Consider
- Oak: Durable and strong, perfect for a lasting workbench.
- Maple: A smooth, durable hardwood that’s ideal for benchtops.
- Beech: Strong and flexible, another great option for solid construction.
- Pine: Affordable and lightweight but may require more maintenance.
- Plywood: An easy-to-replace surface for the workbench top.
- MDF: Smooth and easy to work with, although less durable.
Additional Tips for Building a Sturdy Workbench
- Ensure all joints are tight and secure to prevent wobbling.
- Double-layer the workbench top for extra strength.
- Add rubber feet to the legs to prevent the bench from sliding.
- Keep a few extra wood screws and wood glue handy for any last-minute adjustments.
Building a solid workbench doesn’t just enhance your workspace; it’s also a rewarding DIY project that helps you improve your woodworking skills. With the right tools, materials, and a bit of patience, you can create a sturdy and customized workbench that will last for years.

Project Blueprint Details
Stop guessing measurements. Get the exact cut lists and 3D diagrams to finish this project without mistakes.
ACCESS COMPLETE PROJECT VAULT >>


No Comments
Be the first to start a conversation